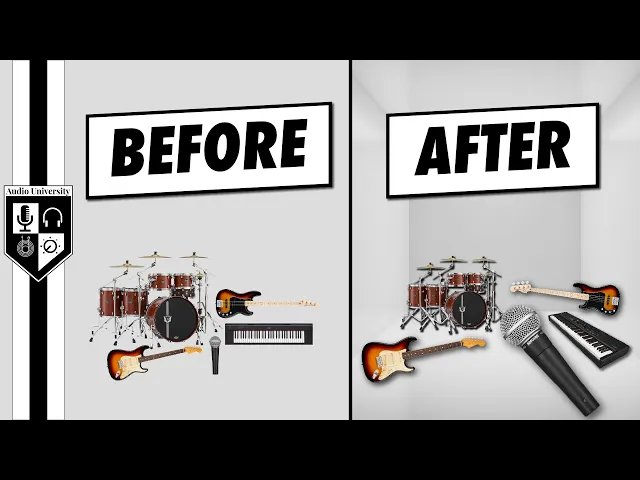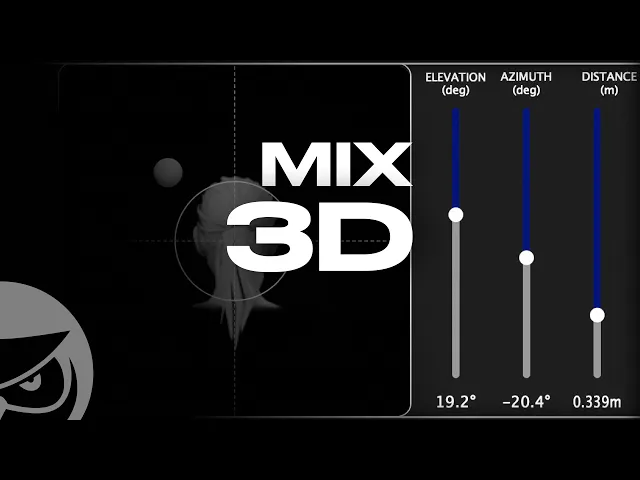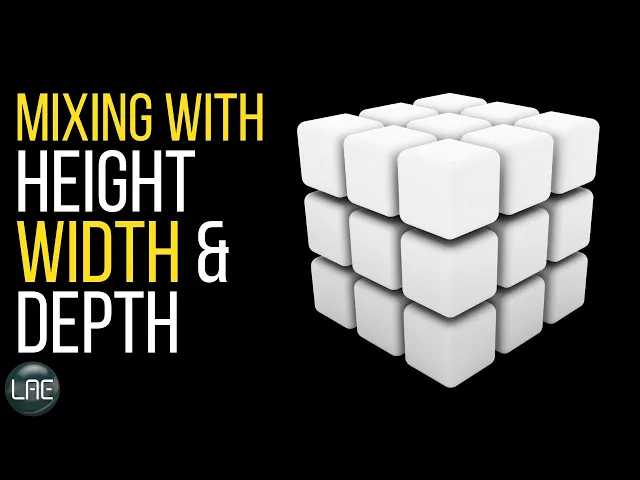
A summary of three-dimensional (“3D”) mixing in audio production.
3D Mixing Notes
1. 3D Mixing Overview
Objective:
Create a mix that is warm, clear, deep, and punchy, where every sound has a defined place in three dimensions:
- Horizontal – Panorama (left / center / right, stereo width)
- Vertical – Frequency content & level (spectrum, balance)
- Depth – Perceived distance (reverb, delay, ambience)
Key principle:
Anything that is not kick, snare, bass, or lead vocal should be questioned if it is placed dead center.
2. Horizontal Dimension – Panorama
2.1 Center Lane
Reserve the center for:
- Kick (bass drum), Snare, Bass, Lead vocal
Reason:
- Low-frequency energy is better reproduced when both speakers share it.
- Deep content on the extremes reduces mono compatibility and causes energy imbalance.
2.2 Drum Panorama (Listener’s Perspective)
- Kick & Snare → Center
- Hi-hat → Slightly right
- High tom → Slightly right
- Mid tom → Center
- Floor tom → Left
Always check that overheads match this orientation (hi-hat side is really on the right).
2.3 Harmonic Instruments & Stereo Tracks
- Distribute instruments with overlapping ranges to opposite sides.
- Target complementary left/right pairs:
- Example: Rhodes (low) left, rhythm guitar (low) right; strings/synth high parts also split across L/R.
- Avoid leaving stereo instruments full-width and centered by default.
- Narrow/offset stereo tracks to open room for other elements.
2.4 Automation & Problem Solving
When a part is unclear:
- Check arrangement (mute competing parts).
- Adjust static panning.
- Use panning automation for problem spots.
- Only then reach for EQ.
Well-thought-out panning and automation often clears the mix more effectively than additional EQ.
3. Vertical Dimension – Frequency & Masking
3.1 Frequency “Stack” in the Center
Approximate roles:
- Bass: lowest 1.5 octaves (center only)
- Kick body: ~80–100 Hz
- Snare body: ~120–260 Hz
- Vocal body: lower mids
- Nasal character: ~1 kHz
- Intelligibility:
- Male vocals: ~2.5 kHz+
- Female vocals: slightly above 3 kHz
- Sibilance: 6–8 kHz
- Air/shine: >8 kHz
Potential conflict zone:
- 180–250 Hz: shared by bass, kick, and vocal warmth.
- Use small cuts on bass/kick here to open space for vocals.
3.2 Masking
- Louder frequency bands mask quieter, similar bands.
- Masking is strongest when signals:
- Share similar frequency ranges, and
- Come from the same direction in the stereo field.
Mitigation strategies:
- Panning overlapping sources apart.
- EQing less critical content in conflict bands.
- Keeping reverb controlled, especially in mono-constrained formats.
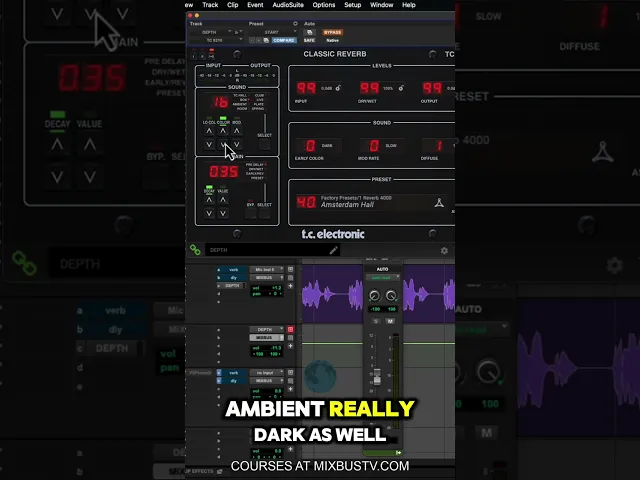
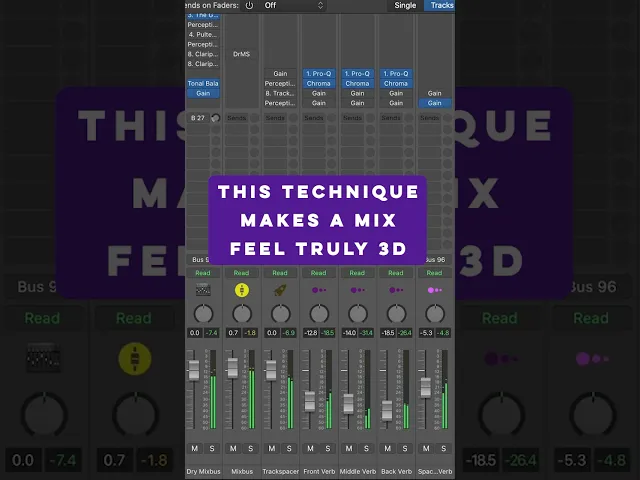
4. Depth Dimension – Reverb & Delay
4.1 Basic Use
- Depth is created with:
- Early reflections
- Reverb tails
- Delays and ambience processing
4.2 Reducing Reverb Masking
- For center sources (e.g., lead vocal):
- Spread reverb more to the sides using stereo or surround routing.
- Cross-panning:
- Left-panned dry signal → reverb weighted to the right.
- Right-panned dry signal → reverb weighted to the left.
Mono vs stereo vs surround:
- Fewer playback channels → less tolerance for dense reverb.
- Surround mixes can support more spatial information if panning is clear.
5. Stereo Width, Phase & Mono Compatibility
5.1 Stereo Width vs Mono Safety
- Increasing width (wideners, chorus, phasey FX) usually reduces mono compatibility.
- Always check:
- Correlation meter
- Mono switch on the monitor controller or DAW.
Rules of thumb:
- Occasional dips into red on the correlation meter are acceptable.
- Take action only if important content significantly disappears or collapses in mono.
5.2 Common Phase Issues
Typical sources:
- Poor mic placement (not respecting same-axis / 3:1 rule).
- Snare top vs bottom mic (phase often needs flipping).
- Overheads vs close mics.
- Chorus / widening on low-frequency-heavy sources.
- Misaligned tracks from editing.
Fixes:
- Use phase inversion on problem channels.
- Nudge tracks by a few samples to align waveforms.
- Narrow stereo width (e.g., 9–3 o’clock).
- Apply modulation effects only to high-passed copies (e.g., above 250 Hz for bass).
6. Pan Law / Stereo Pan Mode
6.1 Concept
- Mono signal feeding both speakers (center) sounds louder than hard left/right.
- Pan law settings apply attenuation at center to keep perceived loudness consistent across the pan.
Typical settings:
- –3 dB | –4.5 dB | –6 dB
- 0 dB = no compensation (center appears louder than sides)
6.2 Practical Benefit
- Mono sources maintain consistent loudness as they are panned.
- Reduces the need for re-balancing levels after panning moves.
- Helpful for:
- Orchestral mixes
- TV / broadcast mixes
- Any production requiring strong mono compatibility.
7. Workflow Priority Checklist
When a mix feels muddy or something is buried:
- Arrangement – Can you mute or simplify something?
- Panorama – Are you using the stereo field fully and intentionally?
- Stereo Width – Can you narrow problematic sources?
- Phase & Mono – Does the mix fall apart in mono?
- EQ – Only then add subtractive EQ to problem areas.
- Compression – Control dynamics after spatial and spectral decisions.
Thinking like a stage designer in 3D.
Plan first, then process. Panning and placement before EQ. Reverb as structure, not decoration.
3D Mixing Images


3D Mixing Videos